Great photography isn’t just about gear or settings—it’s about how you see the world. Developing a photographer’s eye is a gradual process, one that shifts the way you perceive light, shapes, and moments. The good news? With practice and intention, anyone can train themselves to see photographically.
1. Noticing Light First
Photographers often describe light as their “paintbrush.” Learning to observe how light falls across a scene—its direction, quality, color, and intensity—is foundational. Try paying attention to:
-
Golden hour light: soft and warm, great for portraits and landscapes.
-
Hard midday light: creates sharp shadows and contrast.
-
Backlighting: can produce dramatic silhouettes or glowing edges.
As your awareness of light grows, you’ll begin to anticipate how it can shape your compositions.
2. Framing the World Differently
Seeing like a photographer means composing scenes in your mind before ever picking up the camera. Look for:
-
Leading lines and symmetry
-
Patterns and textures
-
Foreground, middle ground, and background layers
Practice using your hands or phone screen to “crop” real-world scenes. This builds the habit of visualizing potential images everywhere you go.
3. Training Your Eye with Projects
Creativity sharpens with constraints. Try these exercises:
-
One subject, many perspectives: Photograph the same object from multiple angles, distances, and lighting conditions.
-
Color hunt: Choose one color and photograph scenes where it stands out.
-
Daily photo walk: Commit to taking one meaningful photo a day, even if it’s just on your phone.
4. Study the Masters
Analyze work by photographers you admire. What compositions draw you in? How do they use light or emotion? Breaking down their images helps you reverse-engineer strong visual storytelling.
With time and intention, your eye evolves—and you’ll find beauty, balance, and story in places you never noticed before.
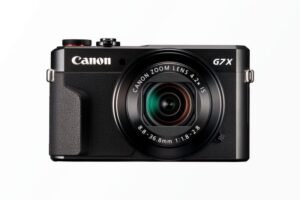 The Canon PowerShot G7 X Mark II is a compact camera aimed at enthusiasts and casual photographers who want DSLR-like performance in a portable package. It’s especially popular among vloggers and travelers for its versatile features and excellent image quality.
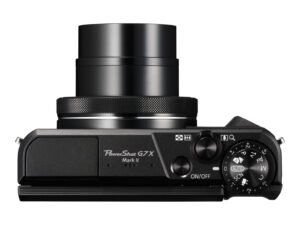
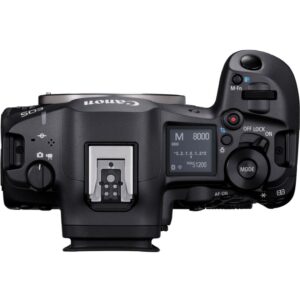
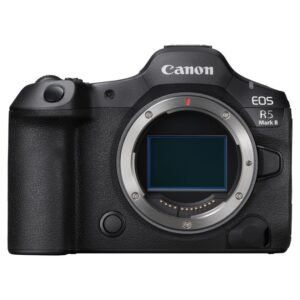 The Canon EOS R5 Mark II takes the flagship mirrorless experience to the next level, building on the success of its predecessor with notable upgrades that cater to both professionals and advanced enthusiasts.